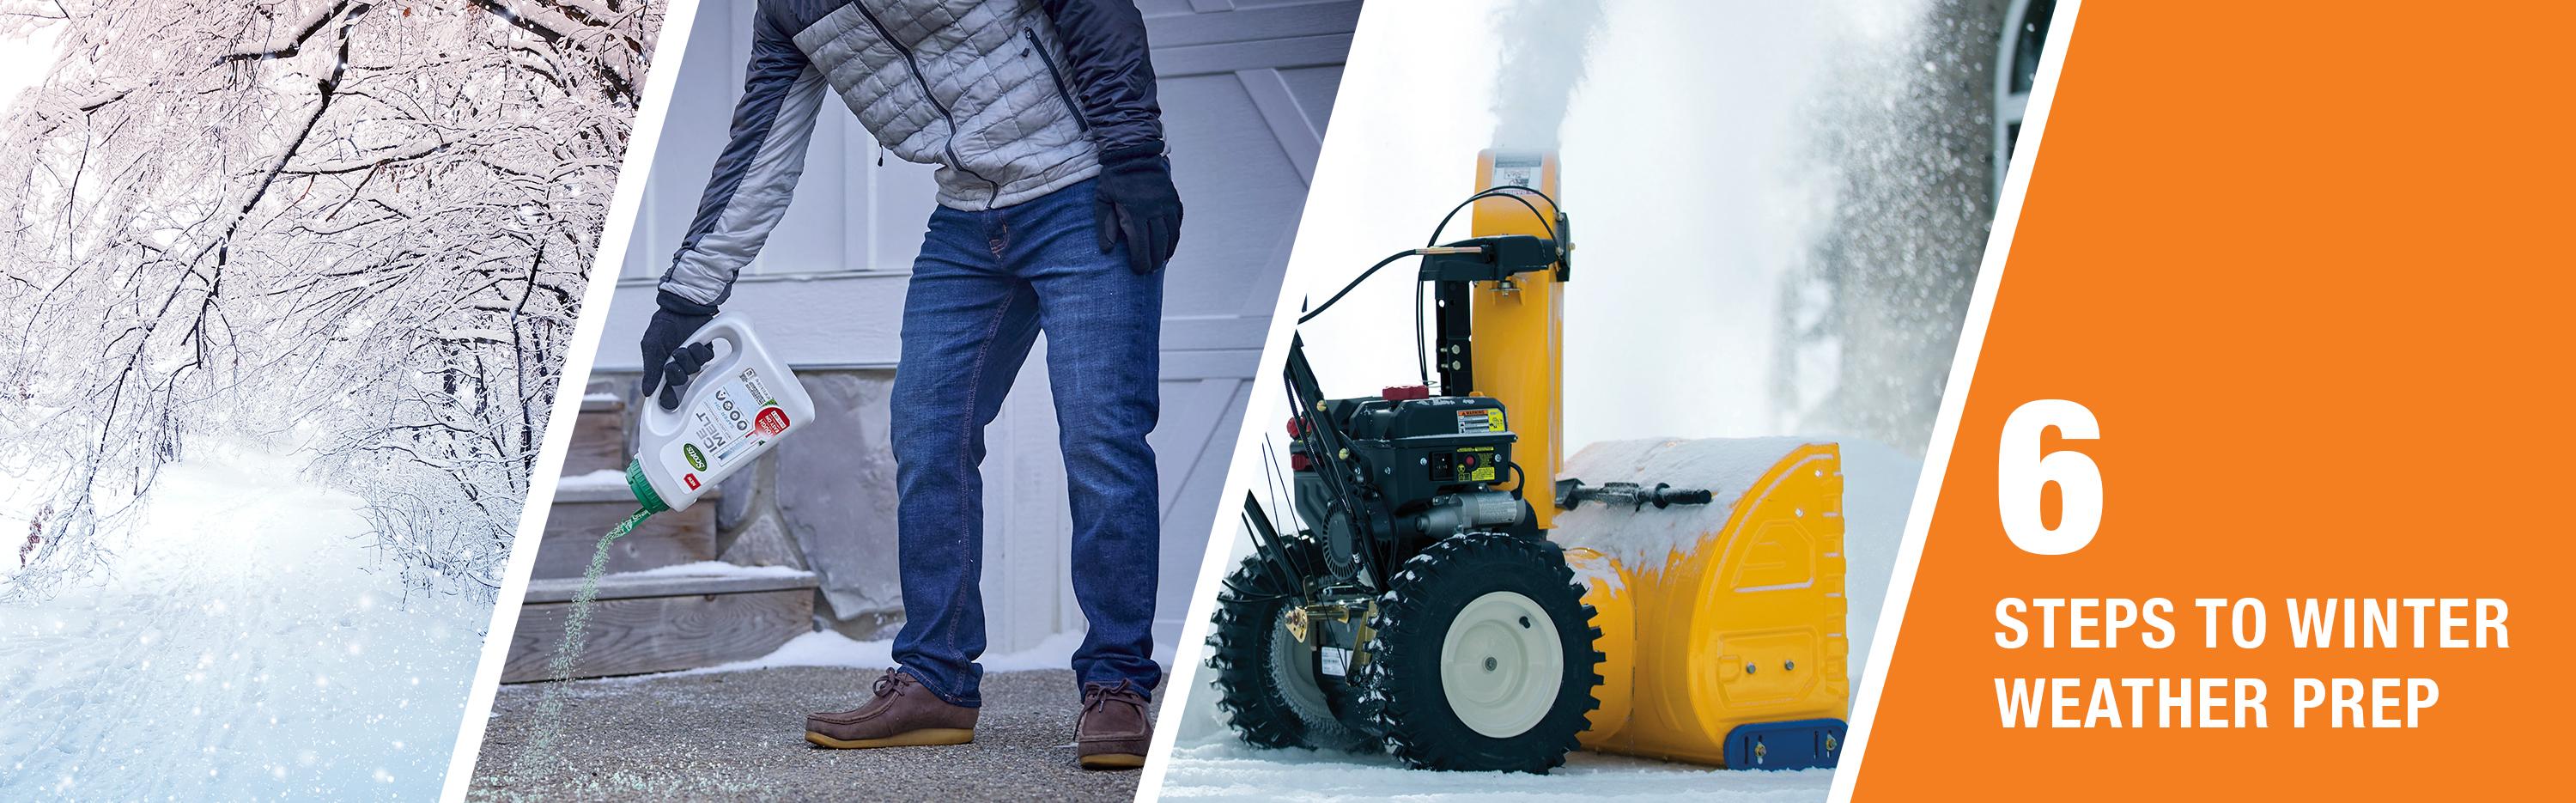
Even if you’re not in the path of a bomb cyclone this winter, you should know what to do—and what not to do—to prepare your home for a winter storm.
Some simple fixes and tricks will save you money—and help keep you safe—when the snow starts to fly.
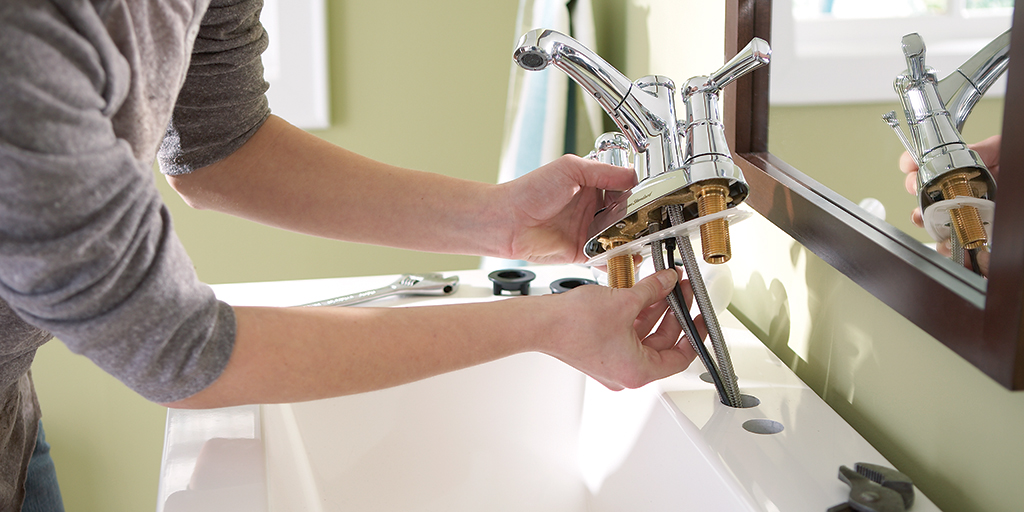
1. Protect Your Faucets (Inside and Out)
Faucets may be small, but they pack a punch—especially if you have a water line outside your home. “The first question I ask customers is whether they have an exterior waterline,” says Tom Wolfe, a Home Depot store manager. “Many people haven’t shut off their water to the outside of their house.”
As water freezes and thaws over time, it expands and contracts, potentially damaging your faucet and pipes. The first step is shutting off the water flow and the next is to protect the faucet with a cover to prevent it from freezing. At just $3, faucet covers are insulated like a cooler and come in hard or soft styles depending on your set up.
Some people may have heard that running their indoor faucets can prevent frozen pipes, but Tom recommends taking extra precautions, like making sure to leave the heat on, even while you’re away. “if you have sufficient heat in the area, you should be fine.”
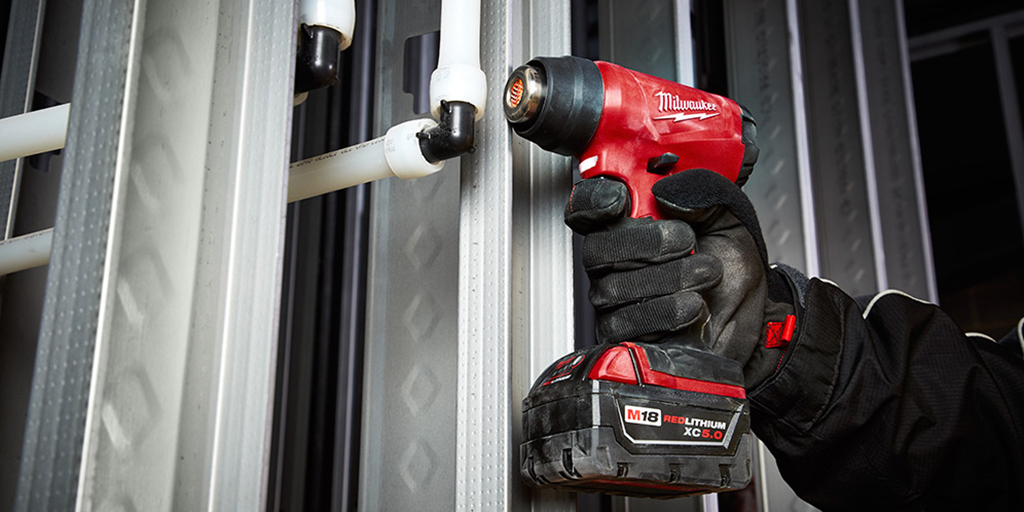
2. Prepare Your Pipes
Faucets are the first line of defense for the maze of pipes running throughout your home. Fortunately, foam pipe insulation provides a low-cost, high-impact fix to keep those pipes from freezing over.
“If it’s freezing and then warms up a bit, the pipe might rupture,” Tom says. “That’s a big mess to clean up.” In basements and crawlspaces that are cold, wrap up pipes near the exterior of the home and make sure all the gaps are covered. For a more tech-forward solution, pipe heat cables automatically measure the temperature and heat any pipes on the verge of freezing. But if a winter storm has caught you off guard and your pipes have already seized up, a hair dryer set to high or a heat gun on low can do the trick.
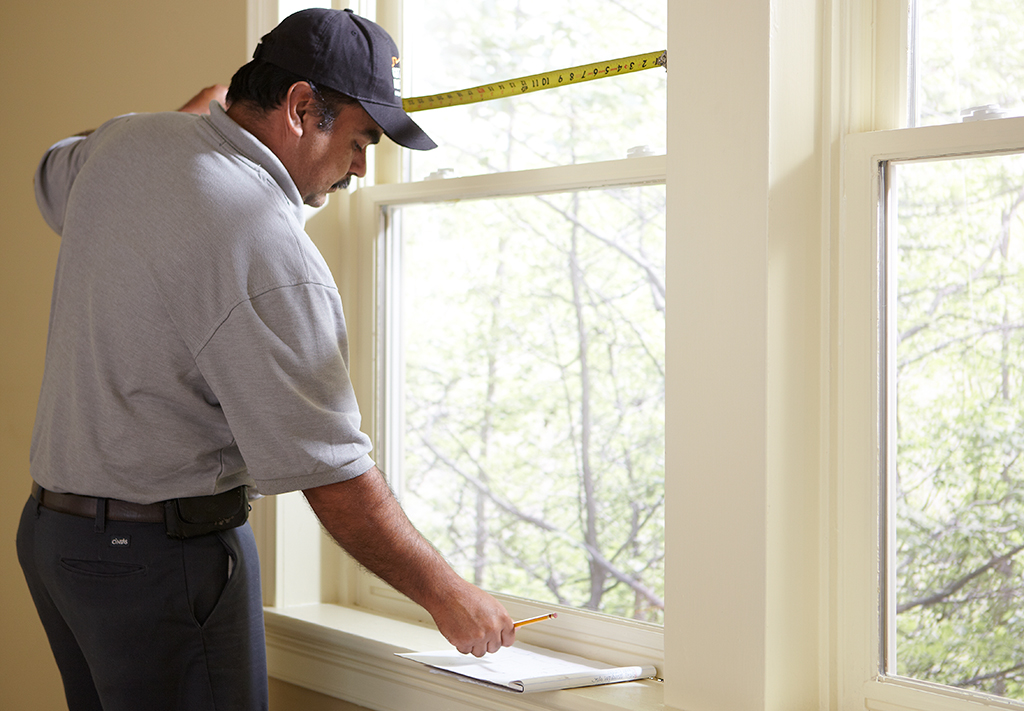
3. Deny Drafty Doors and Windows
Older homes can be notoriously drafty as air squeezes through between the molding around windows and doors. Savvy DIYers might slide under a slit-open pipe insulator to close the gap. Others might use a scrunched-up towel or tape, which can take off paint or finishes. The best solution is window film. With double-sided tape and a hair dryer, it seals windows shut in no time at all and comes off just as easily. “These kits are fantastic and allow you to get windows done quickly,” Tom says. “I typically focus on the bedrooms and living rooms—anywhere people might be sitting for a long period of time.”
Bonus: The kits could even save you money. Of the $2,000 Americans spend annually on energy, $200-$400 is wasted on leaks, according to the U.S. Department of Energy.
You can also block doors drafts with a door bottom. It comes in a variety of colors and can be trimmed to the proper size. It doesn't even require any tools for installation.
To keep things toasty once you’ve blocked drafts, spin ceiling fans clockwise on low speed to push rising warm air back down to where you’ll feel it. Some DIYers suggest boiling an uncovered pot of water or firing up a humidifier since humid air holds heat better than dry air. Tom also recommends register boosters. “It’s basically a fan with a magnet that pushes heat further into your house,” he says. “Customers are selling me on them!”
4. Hold the Salt
While conventional cold weather wisdom might send you hunting for the most powerful rock salt you can find to keep walkways and driveways snow and ice free, it can actually do more harm than good. “It breaks away pavers and eats at concrete,” Tom says. Instead, he recommends opting for calcium chloride which is gentler on landscape and won’t leave stains behind, “It’s safer for concrete and works at temperatures down to -20 degrees. Rock salt won’t work at those lower temperatures.”

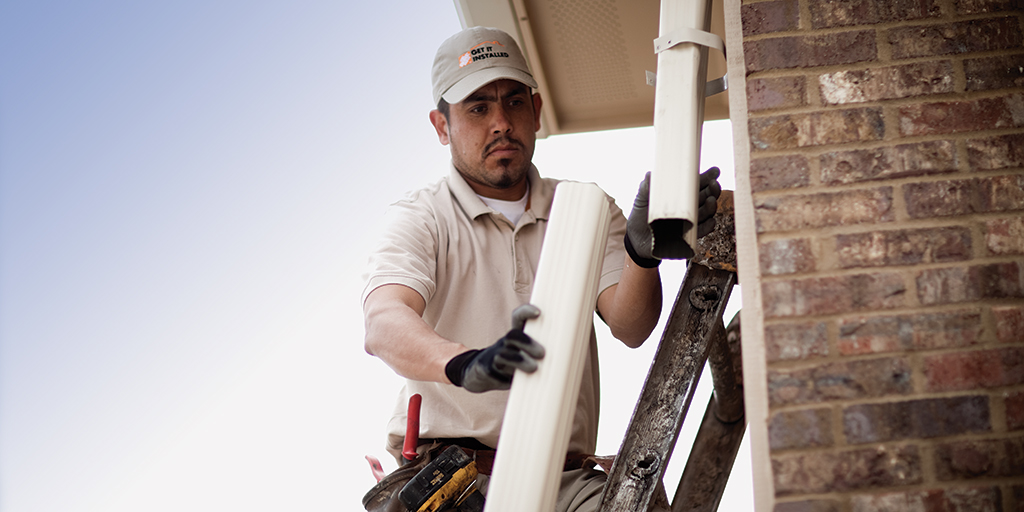
5. Get Your Gutters and Roof Ready
When it snows, roofs and gutters get hit hard. As ice builds up in the gutters, ice dams accumulate and lead to damage. There are a few different preventative measures to take before a winter storm starts. First, remove any accumulated leaves, sticks and other debris so the gutters remain unobstructed. Next, prime them to take on snow and ice. Roof cable—similar to the kind used on indoor pipes—fastens between shingles and senses the temperature to prevent ice from forming and keep downspouts flowing.
If you’re already finding frozen-over gutters, some crafty types suggest filling an old pair of panty hose with calcium chloride Roof Melt and laying them across any ice dams that have formed. So instead of having to hack through ice with a pick and risk damage or injury, the panty hose hack slowly melts the ice down, clearing a path for the water to flow freely.
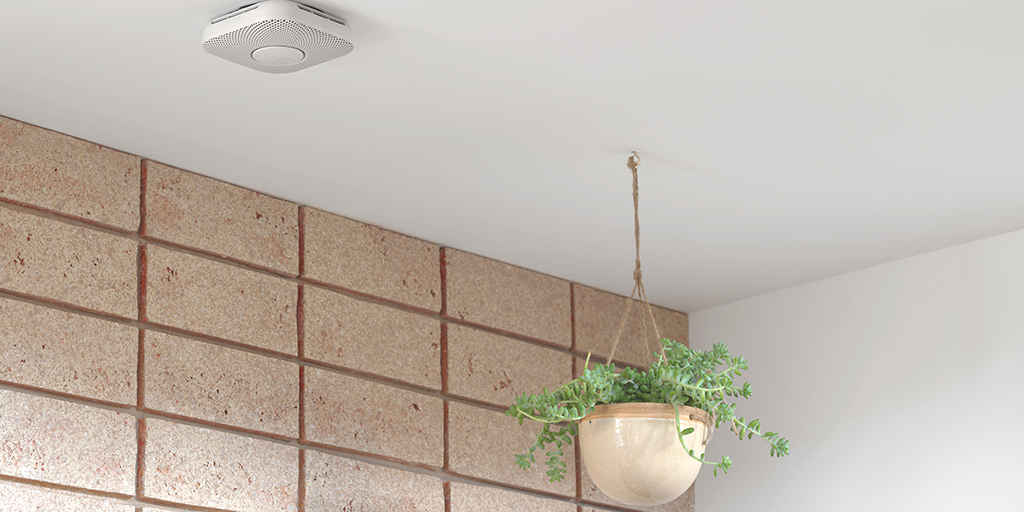
6. Set Up Safety Measures
In case of an emergency, it’s smart to keep a small stock of important items on hand: Flashlights, extra batteries, nonperishable food, bottled water and a first-aid kit are the basics. But as you turn to unexpected sources of heat in frigid weather—such as kerosene heaters, which can be used indoors—you should also make sure you have functioning carbon monoxide and smoke detectors. “The new 10-year units are great and you don’t have to replace the batteries,” Tom says.
A generator is also good to have on hand in case of a power outage, but give these generator safety tips a read before use.